
Italian photographer Ursula Ferrara has shown us some exciting experiments before. She built a 16″ x 20″ camera entirely from scratch, made a lens with cake mold and epoxy, and converted a Lomo instant camera to shoot mini wet plates. Today, Ursula shares another fantastic DIY project with DIYP. She uses photo paper with a vintage Hasselblad camera and shares the process and photos.
Using photo paper with Hasselblad
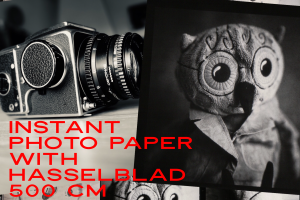
For this project, Ursula shoots with Hasselblad 500 C/M, but she notes that you can use any Hasselblad film camera. She uses the Harman direct positive paper, but you can go with any paper you like. You can even use negative paper and invert the picture after scanning.
Anyhow, the process is fairly simple. Take your paper and the camera’s magazine back. Cut a square of paper slightly larger than 6×6 cm, remove the volet, and load the paper between the magazine back and roll. Put the volet back, and you’re ready!
You can also make your own film roll from the paper. Cut the paper to get the appropriate shape (see photos below) and load it in the magazine back. Close the volet, and once again – you’re ready to shoot.
Whether you choose to make squares or rolls, make sure to perform this process in the dark room.
Now, you can go ahead and shoot. Ursula also goes briefly through developing and scanning the images. You’ll find one unique developing process here (just don’t drink your main component :)). And I believe that scanning is pretty straightforward.
The results
And now, let’s check out the photos!
Negative paper
Negative paper – inverted
Make sure to check out more of Ursula’s work on her website, YouTube, and Flickr. And if you have a vintage Hasselblad – make sure to give this a try!


