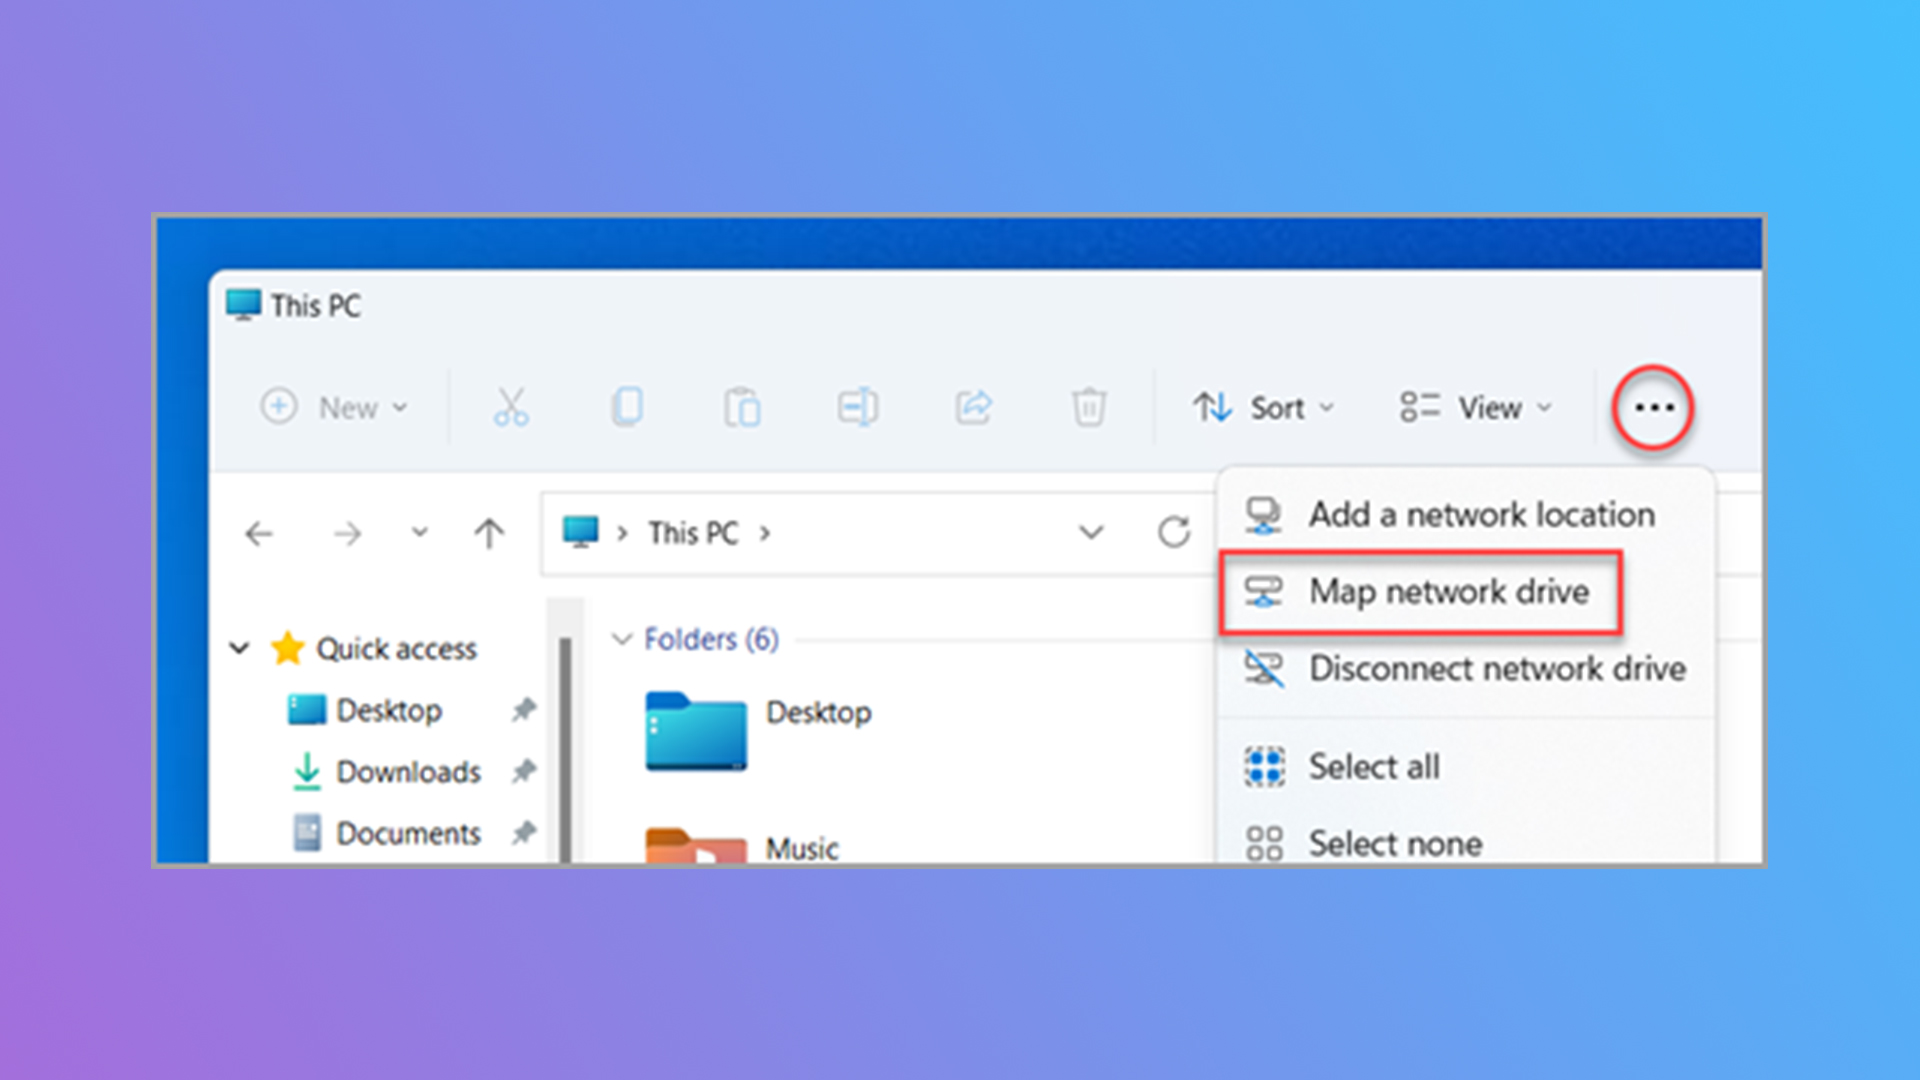

If you have a network drive, you might be unnecessarily typing in the address over and over to get to where you need to go — knowing how to map a network drive in Windows 11 saves you all that busy work.We actually already covered how to map a network drive in Windows 10, so if you’re using that OS, you’ll have to hop on over there. But if you’re in need of an upgrade, here’s how to bypass Windows 11 hardware requirements.Otherwise, here’s how to map a network drive in Windows 11.How to map a network drive in Windows 11Step 1: Get yourself to the File Explorer. Either from the taskbar or the Start menu. You can also press the Windows logo key + E.(Image credit: Microsoft)Step 2: Go to This PC from the left pane. Then select More (three dots in the top nav) and Map network drive.Step 3: Select a drive in the Drive list you want to connect to.Step 4: After getting prompted from the Folder box, type the path of the folder or computer, or select Browse to find it. To avoid doing this every time, select Reconnect at sign-in.Step 5: Click Finish.It’s as simple as that. You’ve officially mapped your network drive to your PC in Windows 11. Now you won’t have to go digging for it every time you log into your computer.Happy mapping!


