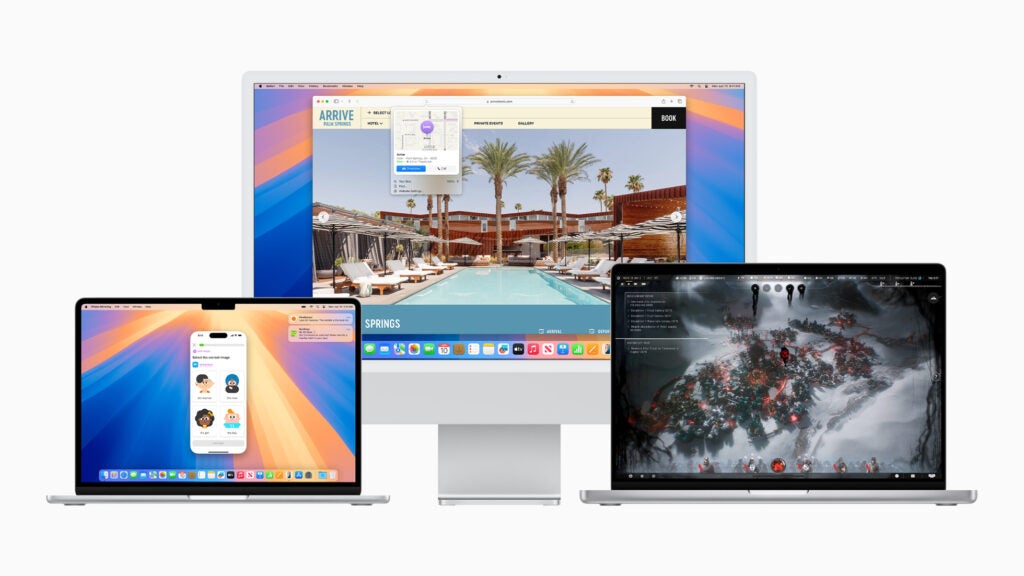

Apple has lifted the lid on macOS Sequoia, the next big software update coming to Macs later this year – but you don’t need to wait that long to try it out.
That’s because Apple has already released an early macOS Sequoia Developer Beta, allowing app developers to ensure their apps play nicely with the new software ahead of a larger rollout sometime in autumn. While you need an Apple Developer account to access the beta, you no longer need to pay for a premium developer account to do so.
That means that, if you’re tempted, you could install the macOS Sequoia Developer Beta on your Mac or MacBook right now – but be warned, as an early beta, there will likely be bugs and other glitches and, as such, you shouldn’t install this on your main bit of kit.
It’s also worth backing up your Mac ahead of time in case anything goes wrong during the installation, or if you want the option of downgrading back to macOS Sonoma in future.
What you’ll need:
MacBook Air (2020 or later)MacBook Pro (2018 or later)iMac (2019 or later)iMac Pro (2017)Mac Pro (2019 and later)Mac Studio (2022 and later)Mac Mini (2018 and later)An Apple ID associated with an Apple Developer account
The Short Version
Associate your Apple ID with an Apple Developer account.Open System Settings.Click General in the left-hand navigation.Click Software Update.Click the i icon next to Beta Updates.Select macOS Sequoia Developer Beta from the drop-down menu.Click Upgrade Now to install the beta update.
Step 1 Associate your Apple ID with an Apple Developer accountIf this is your first time installing an Apple beta of any kind, you’ll first need to associate your Apple ID with an Apple Developer account. While there is a paid version that’ll cost $99 per year, you need only login with your Apple ID on the developer.apple.com portal (for free) to gain access to the macOS Sequoia beta. Step 2 Open System SettingsOn your supported Mac or MacBook, open System Settings. This can be done either via the shortcut in your toolbar (if you haven’t removed it) or by clicking on the Apple icon in the top-left and clicking Open System Settings. Step 3 Click General in the left-hand navigationFrom within the main System Settings interface, select the General tab in the left-hand navigation bar. Step 4 Click Software UpdateThe next step is to click Software Update, located near the top of the menu. Step 5 Click the i icon next to Beta UpdatesIf you’ve correctly associated your Apple ID with an Apple Developer account, you should see a new Beta Updates option beneath the Automatic Updates settings in the Software Update menu. This may take a second to appear while Apple authenticates your Apple ID. To continue, click the ‘i’ icon next to ‘off’. Step 6 From the drop-down menu that appears, select the macOS Sequoia Developer Beta. Step 7 Click Upgrade Now to install the beta updateFinally, click Upgrade Now in the Software Update menu to install the macOS Sequoia Developer Beta. Enjoy playing around with the new software ahead of release later this year!
Troubleshooting
I can’t see the Beta Updates section in the System Updates settings menu. What should I do? Ensure you’ve associated your Apple ID with an Apple Developer account, and also verify that the same Apple ID is linked with your Mac.


