
One of the biggest challenges of landscape photography is having the camera see what your eyes do. Our eyes are much more sensitive to certain changes in light than cameras. We see subtle variations in tone that the camera just doesn’t pick up.
This means environments can appear a little more drab than we’d hoped. In this video, Mark Denney walks us through how we can get some of that atmosphere back. It’s a great technique, and you don’t even have to leave Lightroom.
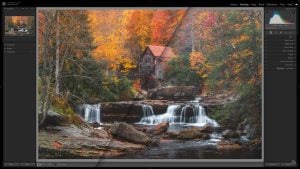
Adding back the atmosphere
We’ve all been somewhere before where everything just seemed to come together. The light, the shadows, the clouds, the separation of depth from the haze. We bring up our camera to get a shot and it just completely loses the haze.
Trying to bring that back in the edit can be a challenge. It used to be extremely difficult to do in the early days of digital photography. Photoshop was kind of primitive, and Lightroom didn’t even exist yet. Aside from the lack of tools, the biggest issue back then was that the same techniques didn’t always work on all images.
That is still true today, as Mark mentions early on in the video. Every scene is different, and every scene is lit differently. So, he shows several different techniques for adding a hazy atmosphere back into your photos. And being done in Lightroom, the edits are completely non-destructive.
On a side note, I do find it quite amusing to see tutorials like this while also seeing tutorials about reducing the haze and how to make your colours pop.


